
基于Tomcat5.0和Axis2开发Web Service应用实例 (附加Axis2.jar)
1.工作环境
Eclipse 3.1.2+Lomboz+jdk1.5+ apache-tomcat-5.0.18+AXIS2:1.0(war版本和bin版本)
在[url]http://ws.apache.org/axis2/download/1_0/download.cgi[/url]页面下,下载AXIS2的Binary Distribution url: [url]http://apache.justdn.org/ws/axis2/1_0/axis2-std-1.0-bin.zip[/url]和war Distribution url: [url]http://apache.justdn.org/ws/axis2/1_0/axis2-1.0-docs.zip[/url]。把这两个文件解压,比如解压缩的后得目录为C:\axis2-std-1.0-bin和C:\axis2.war。
在Eclipse下通过菜单window—preferences…--Java—Build Path—User Libraries 新建一个user library,比如名字就叫axis2把C:\axis2-std-1.0-bin\lib下的所有jar文件包含进来。把axis2.war拷贝到%TOMCAT-HOME%/webapps下面。
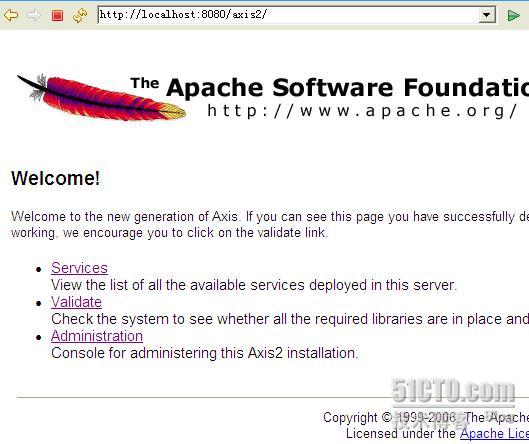
2.检验安装
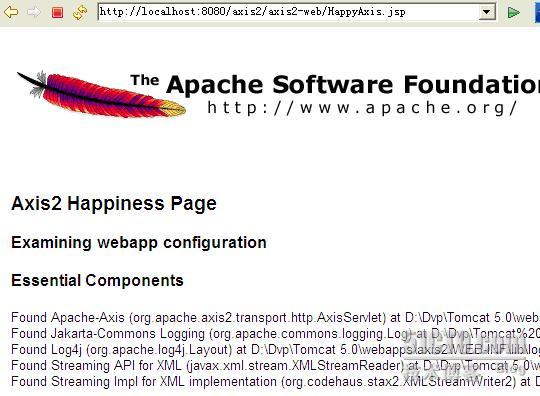
点击Validate,将到达 Axis2 Happiness Page。
3.WebService中的HelloWorld
1)新建一个动态web工程,取名ZZaxis,右键点击项目名,选择Properties-Java Build Path-Add Library-User Library-axis2。
2)新建package sample,建立HelloWorld.java,代码如下。
HelloWorld.java
|
import org.apache.axiom.om.OMAbstractFactory;
import org.apache.axiom.om.OMElement;
import org.apache.axiom.om.OMFactory;
import org.apache.axiom.om.OMNamespace;
public class HelloWorld {
public OMElement sayHello(OMElement in){
String name=in.getText();
String info=name+"HelloWorld!";
OMFactory fac=OMAbstractFactory.getOMFactory();
OMNamespace omNs=fac.createOMNamespace("http://helloworld.com/","hw");
OMElement resp=fac.createOMElement("sayHelloResponse",omNs);
resp.setText(info);
return resp;
}
}
|
3)在WebContent\META-INF\建立services.xml,代码如下。
services.xml
|
<?xml version="1.0" encoding="UTF-8"?>
<service name="HelloWorld">
<description>
This is a sample Web Service.
</description>
<parameter name="ServiceClass" locked="false">sample.HelloWorld</parameter>
<operation name="sayHello">
<messageReceiver class="org.apache.axis2.receivers.RawXMLINOutMessageReceiver"/>
</operation>
</service>
|
4)将目录sample和目录META-INF组织如下(新建目录example)。
+-example
|-------- +-sample
|------- HelloWorld.class
|---------+-META-INF
|------- services.xml
5)打包生成aar文件。
在命令符环境下,将当前目录转到example。
jar cvf HelloWorld.aar . //注意最后一个点,在当前目录下生成HelloWorld.aar。
6)在Eclipse中启动Tomcat,在地址栏下键入[url]http://localhost:8080/axis2/[/url]。选择Administration,输入用户名admin,密码axis2。选择左侧工具栏Tools- Upload Service,上传之前打包的HelloWorld.aar。该文件将在<CATALINA_HOME>/webapps/axis2\WEB-INF\services目录下。
7)编写客户端检验代码。新建Java Project,取名为ZZaxisClient。右键点击项目名,选择Properties-Java Build Path-Add Library-User Library-axis2。
8)新建package example.client。建立TestClient.java,代码如下。
TestClient.java
|
package example.client;
import org.apache.axiom.om.OMAbstractFactory;
import org.apache.axiom.om.OMElement;
import org.apache.axiom.om.OMFactory;
import org.apache.axiom.om.OMNamespace;
import org.apache.axis2.addressing.EndpointReference;
import org.apache.axis2.client.Options;
import org.apache.axis2.client.ServiceClient;
public class TestClient {
private static EndpointReference targetEPR=new EndpointReference
("http://localhost:8080/axis2/services/HelloWorld");
public static OMElement getSayHelloOMElement(){
OMFactory fac=OMAbstractFactory.getOMFactory();
OMNamespace omNs=fac.createOMNamespace("http://helloworld.com/","hw");
OMElement method=fac.createOMElement("sayHello",omNs);
method.setText("ZJ");
return method;
}
public static void main(String[] args){
try{
Options options=new Options();
options.setTo(targetEPR);
ServiceClient sender=new ServiceClient();
sender.setOptions(options);
OMElement sayHello=TestClient.getSayHelloOMElement();
OMElement result=sender.sendReceive(sayHello);
System.out.println(result);
}
catch(Exception axisFault){
axisFault.printStackTrace();
}
}
}
|
9)测试,run TestClient.java as Java Application。结果:
|
<hw:sayHelloResponse xmlns:hw="http://helloworld.com/"
xmlns:tns="http://ws.apache.org/axis2">
ZJHelloWorld!
</hw:sayHelloResponse>
|
4.后续
本文出自 “子 孑” 博客,请务必保留此出处http://zhangjunhd.blog.51cto.com/113473/23690
分享到:


相关推荐
NULL 博文链接:https://tw5566.iteye.com/blog/324072
基于_Tomcat5.0和_Axis2开发Web_Service应用实例
基于Tomcat5_0和Axis2开发Web Service应用实例,上面的例子简单实用
Axis+MyEclipse6.0+Tomcat5.0开发Web Service实例总结
随着Web Service技术迅速发展,基于Web Service开发的应用被使用...本文将介绍如何使用WAS CE(WebSphere Application Server Community Edition)和Apache Axis2开发、部署及测试一个简单的Web Service应用-网上花店。
Axis开发Web Service实例Axis开发Web Service实例
用axis2开发web service,过程比用axis1开发web service简单
基于AXIS2实现Web Service开发
基于Axis2和Tomcat的自动化可配置Web Service开发文档,源码和测试工程代码,详细讲述了如何在Tomcat环境下利用Axis2引擎快速开发一个可配置的自动化发布的web service应用。
基于Axis2的Web Service 快速开发.ppt
贴一个关于用AXIS来开发Webservice 的一个不错的例子,也可以与大家一起分享之。。。。
web service在web接口系统中是jms中很不错的一个选择。而axis又是开发web service的不二人选。本文通过理论结合实例的方式讲解如何通过axis来开发web service。所有实例代码均可copy运行成功。
Spring 集成 AXIS2 的 Web service 配置方法 Spring 是一个流行的 Java 应用程序...总结来说,Spring 集成 AXIS2 的 Web 服务配置方法可以提高开发效率和系统可维护性,该配置方法可以应用于企业级应用程序的开发中。
用axis2开发Web Services,内容包括环境搭建,插件安装,以及用axis2开发Web Services的详细步骤及实例程序;
java基于Axis2调用C#开发的web service获取xml结果
一个完整的web项目 基于axis2的web服务开发 包含完整代码和文档以及操作指南 请勿随意转载上传 所用到的其他技术包括但不限于:java web、mysql、Axis2、Html5、CSS2等 所用到的工具包括但不限于:eclipse、 Photo...